To create a new Web push notification go to the Campaigns tab, then +Create new campaign. It will display iPresso Studio in front of you, where you should select the communication channel - Web push.
In the next step set up the Settings, and configure the following:
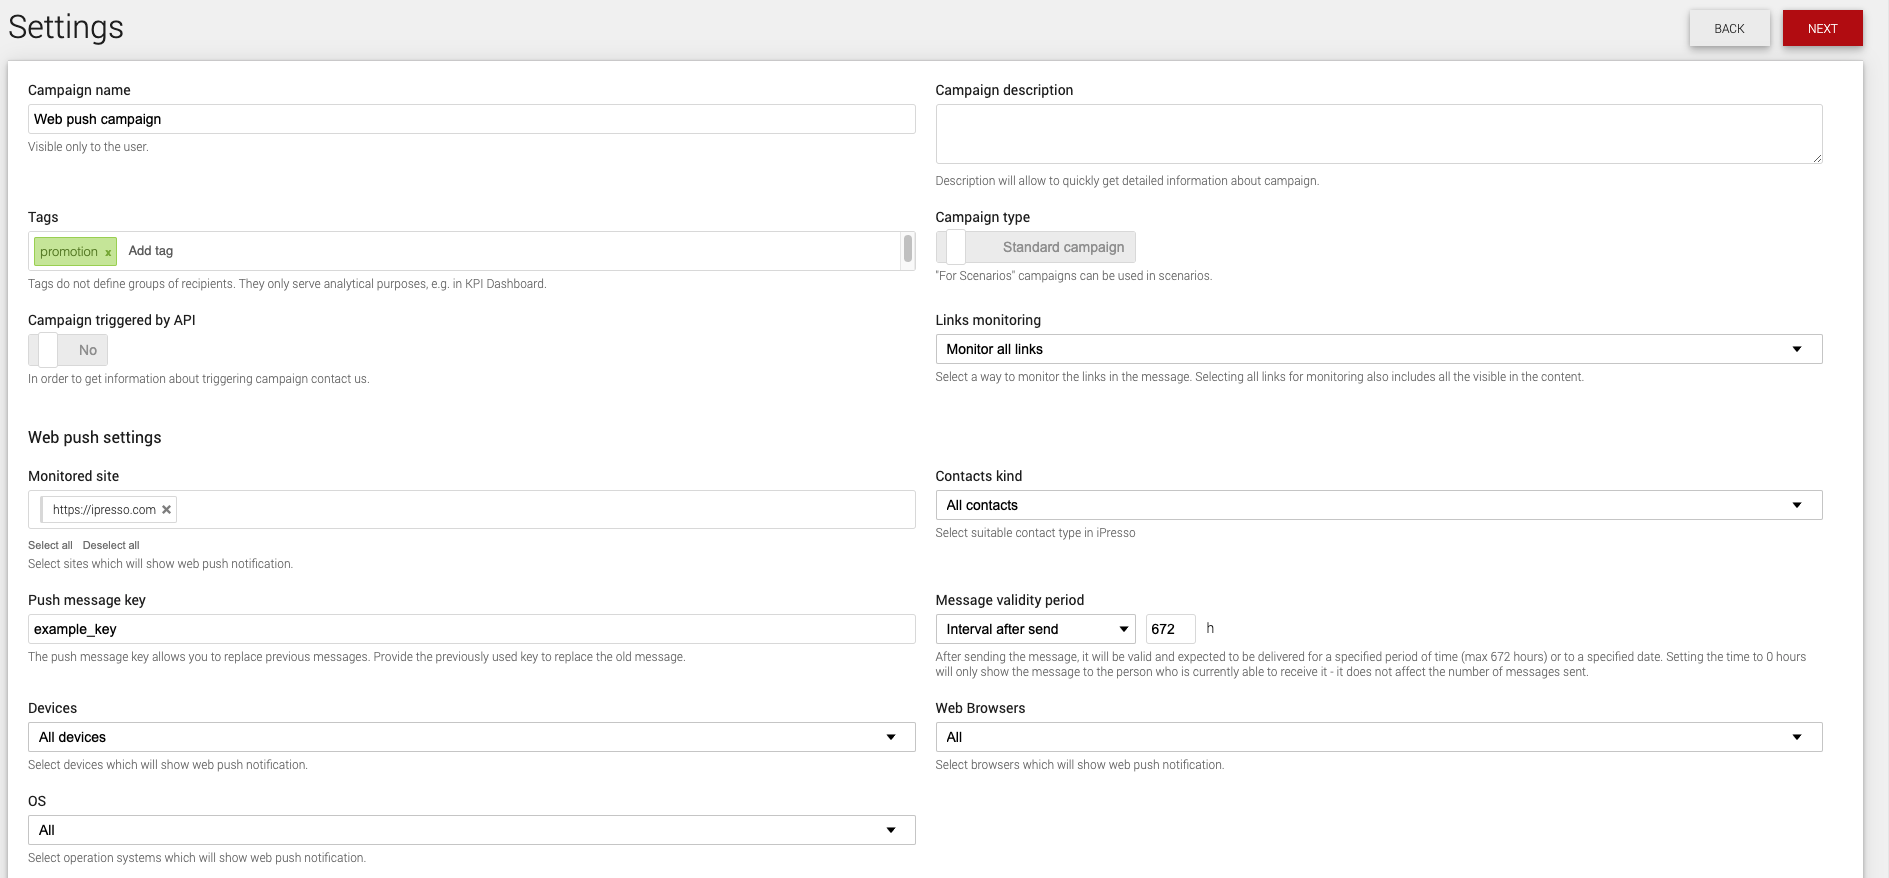
- Campaign Name - Visible only to users in the system.
- Campaign Description - This allows you to quickly get detailed information about the campaign.
- Tags - Used for reporting purposes, such as classifying emails for the KPI Dashboard.
- Campaign type - For scenarios - will allow you to use the added Web push when creating Marketing Automation scenarios. Standard campaign - This is a Web push dispatch triggered through the API mechanism, Page Actions, or Abandoned Process.
- Monitored site - One or more sites within which a Web push notification can be sent. Selecting a specific URL will cause the Web push to be displayed only to those users who have agreed to display messages from the site indicated there.
- Contact Type - We distinguish: All contacts, Monitored only, or Anonymous only.
- Push message key - Allows you to override previous messages.
- Message validity period - You can use: Interval after send or Until provided date. Once sent, the message will be valid and await delivery for the specified time (maximum 672 hours) or until the specified date. Setting the time to 0 hours will only show the message to those who are currently able to see it - this does not affect the number of messages sent.
- Device, Web Browser, and Operating System (OS) - within which the web push notification will be sent.
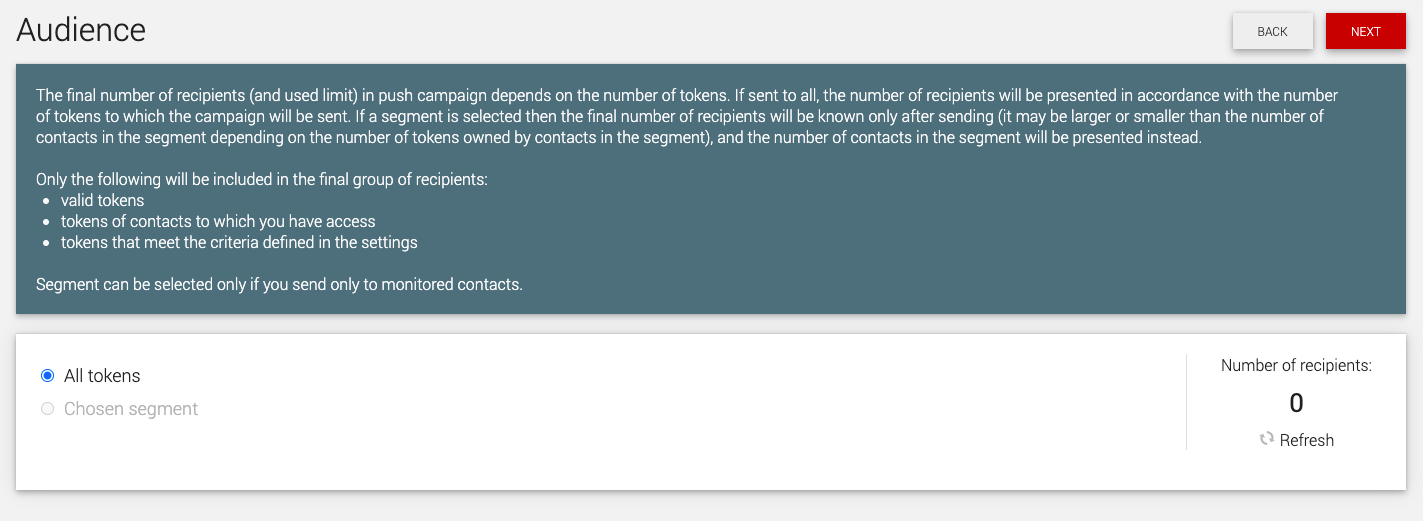
Recipients
In this step, define an audience. You can select All tokens or select a previously created Segment. Note that this option is only available for settings where the Contact Type is - Monitored contacts.
Content
In the next step, configure the Content:
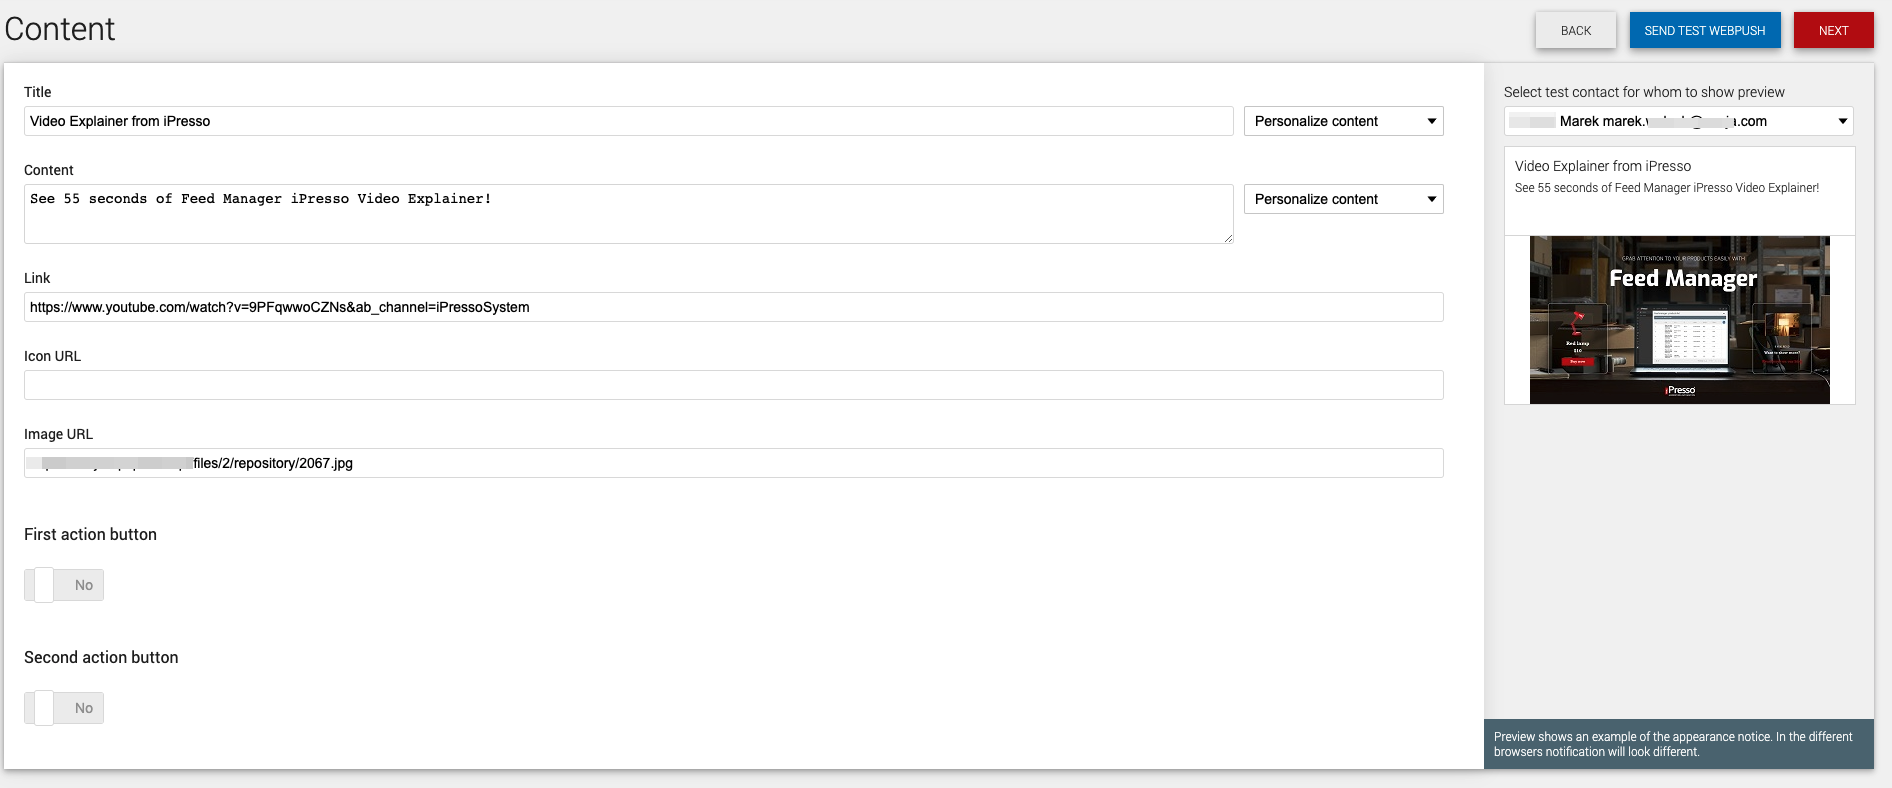
- Title - allows you to personalize the title of the Web push.
- Content - allows you to personalize the content of the Web push.
- Link - the address to which the user will be redirected after clicking. Site address must be HTTPS secured as well as the URL to icon: HTTPS secured.
Summary
The last step in the process of creating your web push notification is a summary. Here you will see which elements need to be properly configured (they are highlighted in red), and which are already correct (highlighted in green).
When you press Edit, you will automatically see a window with a field that needs to be changed. Your message will be sent ONLY if every element will be highlighted in green.
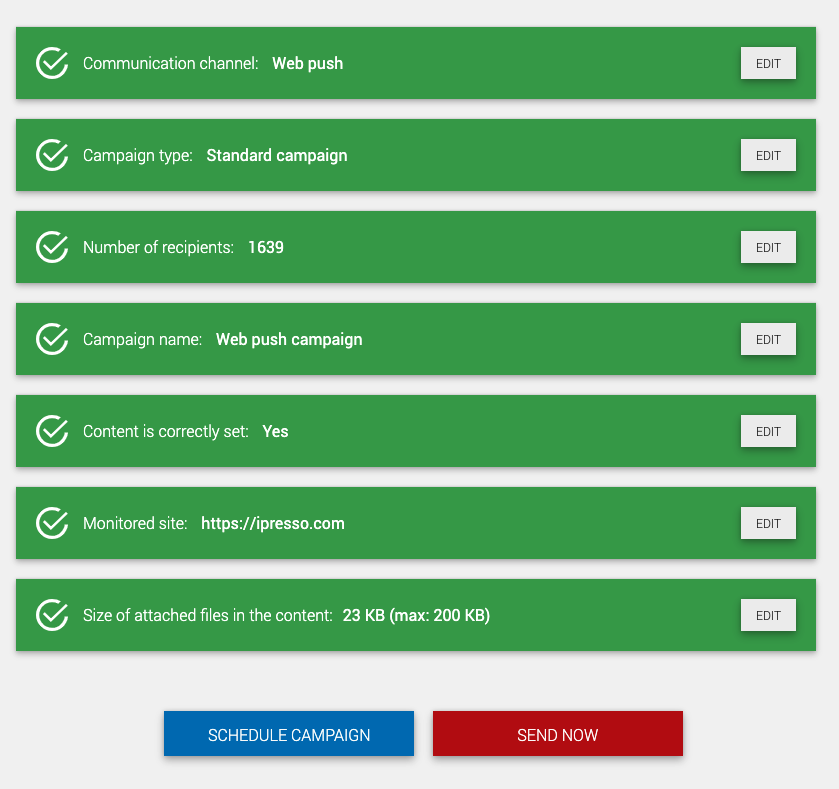
Lastly at the bottom of the page, you will have 2 options:
- Schedule campaign - to plan the time of sending your message, and
- Send now - to send it right away.
Comments
0 comments
Please sign in to leave a comment.